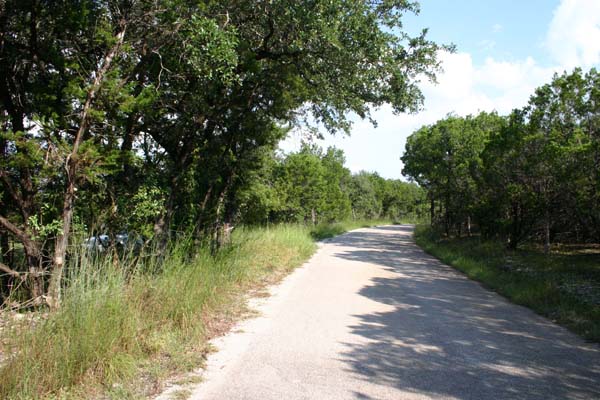
Limestone path works with native landscape
Concrete front walks are fine for some houses. They give a clean finished look. But, we had built a contemporary farmhouse on a large lot, left mostly in its natural state. When we were ready to put in the front walk the last thing we wanted was a long ramp of concrete. Concrete takes dominion over the ground and breaks with the natural landscape. We wanted a more organic walk. There was a long distance to cover, and the ground kind of undulates. A concrete walk is not ideal for level changes – unless you want to have steps. This walk needed to be some sort of stepping stones.
We considered buying pre-made concrete pads. But they were too small for the job and would look wimpy. We considered using flat stones for the walk. And, we considered pouring rectangles of concrete, formed in place. I had read about adding crushed granite to the concrete mix for texture. That would have been an interesting project to try.
Stone steps seemed right, but I thought this might be an expensive choice. The stone supplier for the house was A. J. Brauer in Jarrell, Texas. So, I called Mr. Brauer (512-746-5792) and asked if he had some flat limestone pieces that we could use. He said they had limestone rectangles, about two by four feet in size. They were smooth on one side and rough on the other side. I could not understand why they would be this way, so Jim and I drove out to Jarrell to take a look at them.
We found that they were the outer edges that are sliced off large blocks of stone – kind of like the ends of a loaf of bread. This is done to trim the blocks after they are taken out of the ground. The clean blocks are then sliced to make material for the outsides of buildings, floors, fireplaces, and other things.
Limestone is a beautiful light colored stone that is quarried in the Austin area. It was formed from deposits of shells millions of years ago. You can sometimes find shell fossils in the stone.
These pieces are scrap material, so they are relatively inexpensive. And they make a great front walk. The total cost for the stones was about $600, including delivery. We got enough for a walk and patio.
Before putting them in place, I had a consultation meeting with Jim David of David/Pease Design, a great landscape designer in Austin. I showed him the path where I planed to lay out the walk. He said that it was going to look like a straight line that turned out crooked. When he drew a bold curve on the survey, I knew he had saved me from a big mistake.
I told him that we were going to dig the ground down a bit and set in the stones. He waved away that idea. Just set them on the ground. The weight will settle them in. We placed them with the smooth side down.
We used a hose to lay out the curve that Mr. David has suggested. Let me tell you, these stones are heavy – about 200 lbs. apiece. It took two strong men to lift and put them in place. We used a refrigerator dolly to move them off the pallet to their place in the walk.
The stones varied some in length and width. Jim wanted the walk and patio to be orderly, so he kept measuring the top stone from each of the six palettes to pick the best one. He wanted similar sized stones next to each other. We made a landing at the road with four stones across and two deep. Then the walkway is one stone laid across – so it is four feet wide.
After they were placed, we added a little dirt between them and some buffalo grass seed. The effect is a wonderful natural look. Grass grows around them and blends them in with the terrain. It is a good fit with the native Austin look. As Lady Bird Johnson once said, “I like it when the land speaks its own language in its own regional accent.”
Austin Texas Real Estate Guide